HTML Tutorial 1
Welcome to my test page for a HTML tutorial. I've started so many of these but I always get bogged down in detail or something else comes up and my notes get mislaid and I end up throwing in the towel. And always a few months later I think to myself why don't I try writing that tutorial again. Well my New Years resolution this year was to get this done so let's give it another shot.
HTML is easy. Grab yourself a web editor like Frontpage or Dreamweaver and you can create some very nifty sites but you'll only every get an approximation of your vision. To really get it to do what you want you need to learn the tags and the stylesheets and scripting. That's where this tutorial comes in. Step by step we'll get you up to speed and fill the world with web designers!!
OK enough from me. Let's get started. You'll need for this tutorial:
- A basic understanding of computers: [how to turn one on, open, close and save files, how to make folders/directories, how to use basic programs like text editors and web browsers]
- One text editor: [for the HTML] notepad, pico, wordpad - anything that you can save the file in plain text format - that is text without formatting like specific colors, fonts, sizes, weights etc
- One paint package: [for the CSS, well really for getting the color codes and pictures ... more on that later]
- Time
- Sweat
- Tears
Pretty easy to get started. Open your text editor. At the top type <HTML> Under that type </HTML>. The <html></html> tag pair let the browser know this is a web page. Anything between these tags is part of the web page. Speaking of which after <html> and before </html> type <head></head>. This tag pair is for formatting information and page details. Your style sheet definitions and script function definitions will go here. More on those later. For now put <title>My first web page</title> between <head> and </head>. Your page should look like this:
- <html>
- <head>
- <title>My first web page</title>
- </head>
- </html>
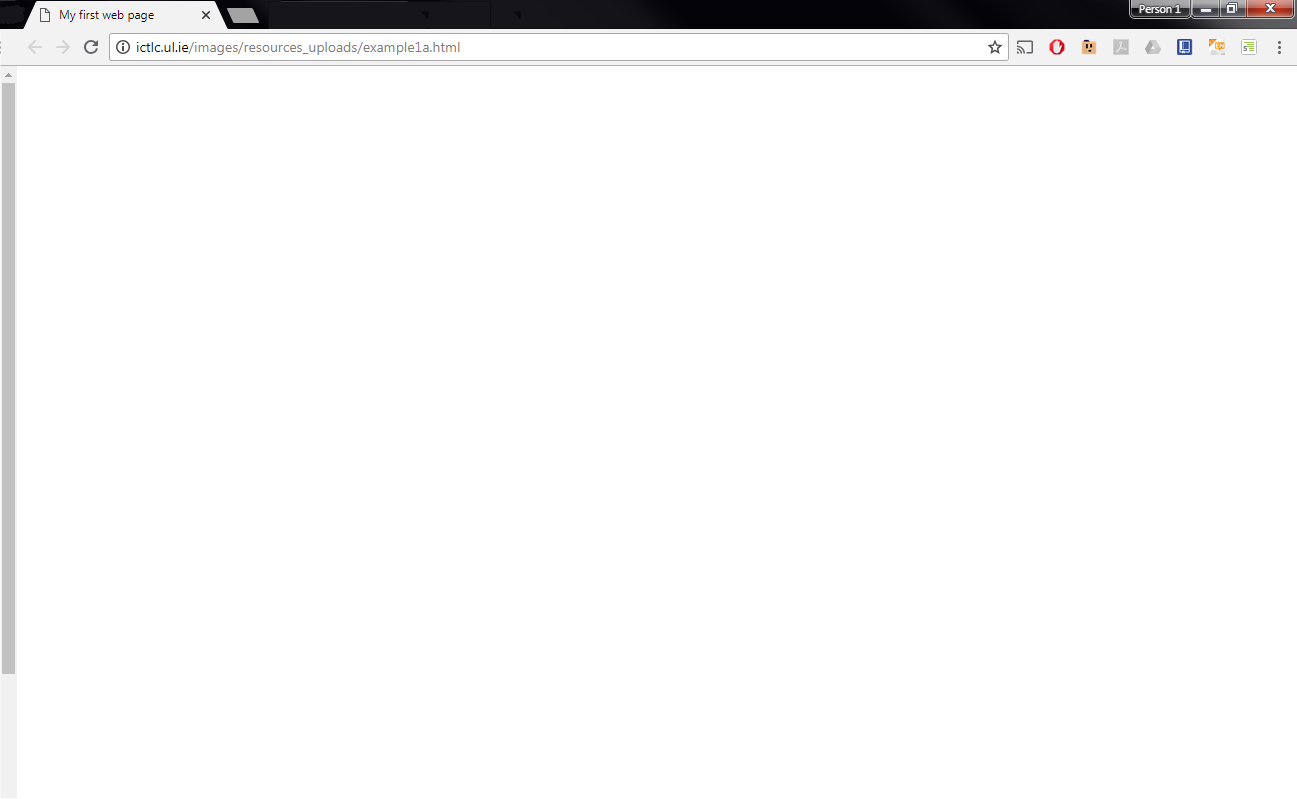
The <title> tag gives the text for the title bar of the page. We'll save this document now. Since it is our first page of a new site it will be saved as 'index.html'. While in theory you can call it whatever you want there are reasons for following this naming convention. We will look at this .. later. Once you have saved the file open your explorer and double click on your file icon (alternatively open your internet browser and in the location bar type "file://<file location>" where <file location> is path to your file e.g. c:\public_html\index.html). Your page should look like this:

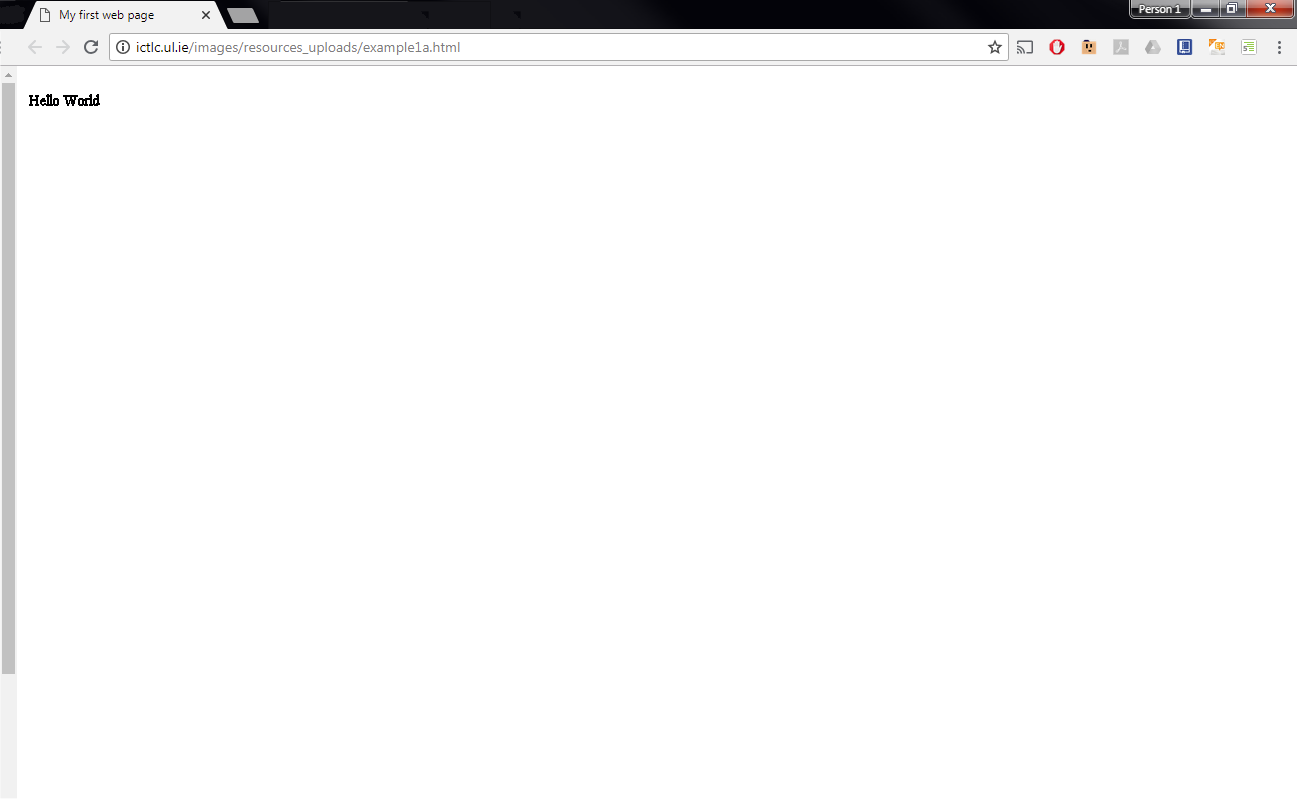
But like any animal a HTML page won't far without a body so let's introduce the <body> tag. It goes under the </head> tag and before the </html> tag. All the actual 'physical' parts the site will go here. For now let's just put a simple sentence to show it works. I'm going for that old classic 'Hello World!'. Sorry old programmer habits die hard. Your page should now look like this:
- <html>
- <head>
- <title>My first web page</title>
- </head>
- <body>
- Hello World
- </body>
- </html>
Your page should look like this:

Well done you've just written your first web page. It's nothing exciting but we can work on it. The hardest step is over. It's easy-peasy from here on in. OK the first thing we can look at is adding a bit of color. And jazzing up the text. And maybe a picture or two. Now I'm going to depart from standard instruction here and teach you something that is generally thought of as advanced now. Believe me when I tell you it will make your life much easier though it will take a bit of concentration to understand. "What are you talking about, James?" I hear you say. "Just get on with it." And so I will. In lesson two - Cascading Style Sheets.