HTML Tutorial 5
OK was supposed to be finished by now. 4 lessons I said. That won't be so bad. Ah well I do witter on. You should at this stage have a good idea of basic html, how to set up a page [introduction], create a color scheme / layout format [cascading style sheets], insert images and create hyperlinks [pix and lynx] and tables [lists, divs and tables]. Incidentally, we learned about line breaks [<br /> tag] and lines [<hr /> tag]. So we can write a pretty ok page at this stage. What else might we need? Well it would be nice to position the text where we want it, exactly where we want it. And lists do come up so I suppose they'd be nice too.
A basic way of doing this is to have a table with it's width and height set to 100% and in the stylesheet have the 'margin:' definition of the body specification set to 0cm; 'margin' set as 0cm sets top, right, bottom and left margins as 0cm. You can set it to any number provided your page is large enough to deal with it. You can set individual margins by using the 4 number reference. Margins are set in the following order Top, Right, Bottom and Left so 'margin: 0cm, 0.1cm, 0cm, 2cm;' set the top margin to 0cm, the right to 0.1cm the bottom to 0cm and the left margin to 2cm. BTW a margin is the distance from the edge of the screen to the edge of the text. But this is a pretty inaccurate means of setting position. It's much easier to use the <div> tag.
The <div> tag actually behaves like an existing tag: <p>. They place text/images/tables in a paragraph. Simply put the text inside the tag and it becomes part of the paragraph. It is also the tag that <table> is a fix for. If I could I would leave it but to be honest the <div> tag does have some very useful features namely the ability to position it anywhere on the page and the ability to make it invisible.
"Gasp!!", "Invisible!" you say. I know, I know I was shocked too. Not very useful most of the time but once we get started on scripting you won't believe how useful it will become. Anyways all these things are achieved by using either the stylesheet or the 'style=' attribute of the <div> tag. We'll use the 'style=' attribute for now and I'll show ye how to use the stylesheets later.
Right the 'style=' attribute is available to all tags. It's sort of a shortcut straight to the style sheet and allows you to set several attributes at the same time. For the <div> tag we need it for positioning. To do that set the 'style=' attribute to the following:
- "position:absolute;top:30px;left:40px;"
What does this do? Well 'position:' sets the position type. It can be absolute [top corner is 0,0 and is unaffected by the stylesheet specification for body] or relative [depends on the containing tag, e.g. if the <div> is inside another tag e.g another <div> tag or a <table> tag top corner is the top corner of the containing tag and is affected by any margin settings of the stylesheet body specification]. Still with me?
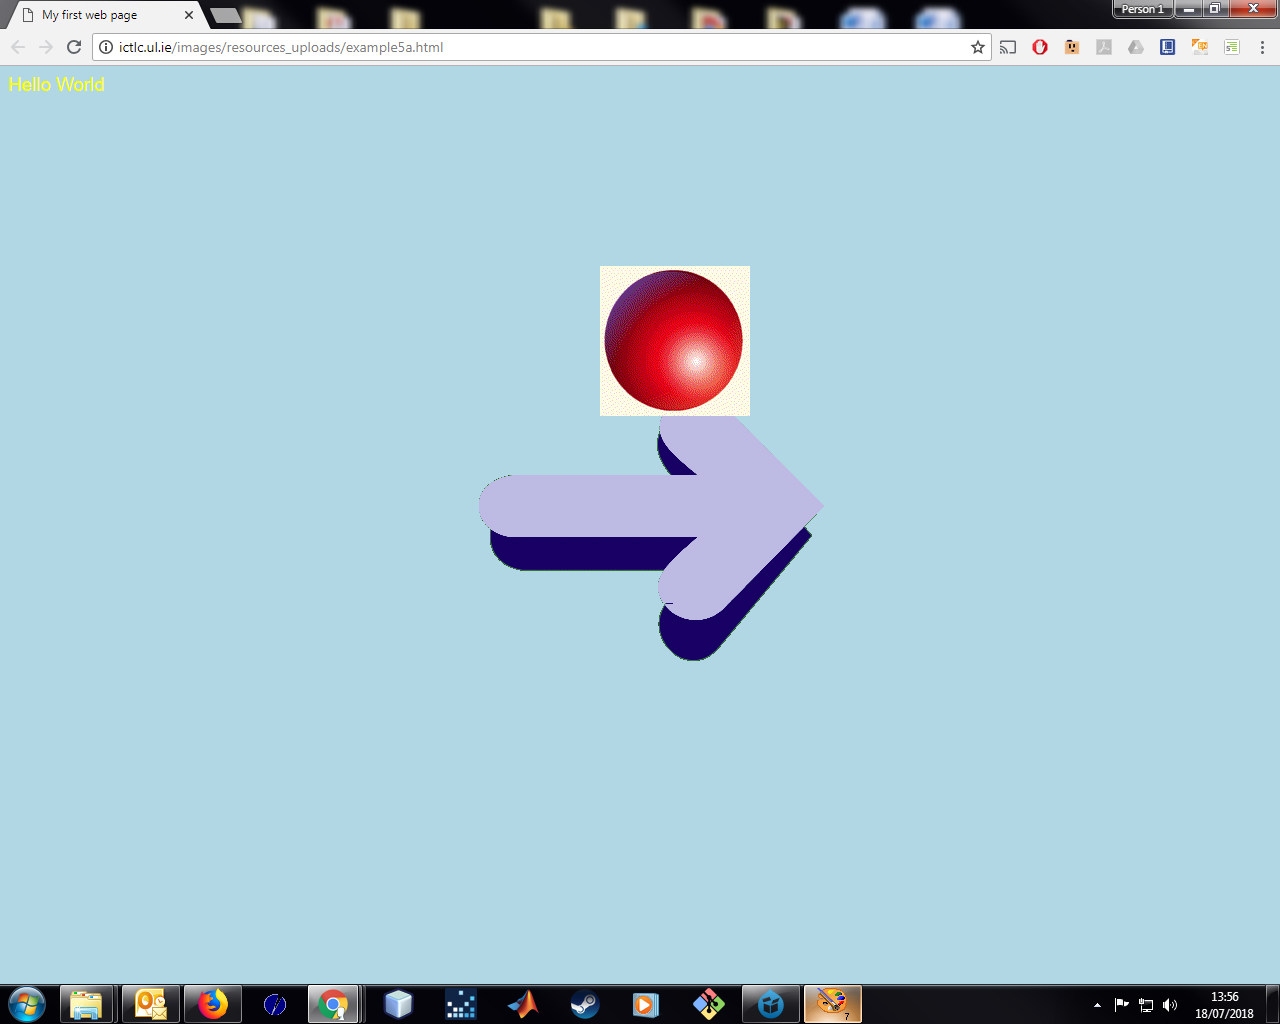
'top:' sets the y-axis position of the tag. The top of the page is '0px', the bottom of the page depends on the size of the window and the resolution of the screen. It is generally set in 'px' or pixels but can also be set in 'cm' and 'mm'. 'left' sets the x-axis position of the tag. The left hand side of the window is '0px', the right depends on the size of the window and the resolution of the screen. Note the style definitions are all set together in one go and each is separated by a semi-colon, i.e. ';'. You must separate them this way or they won't be applied. Also the last definition must be followed by a semi-colon. Let's try this out. Let's position the ball picture on the middle right hand side of the screen.
- <div style="position:absolute;top:400px;left:300px;">
- <IMG src="/art/ball.gif">
- </div>
Mess around with the values of top and left till you get it exactly where you want. This means you can line things up exactly which is very useful .. ya later on. We'll deal with the visibility issue when we get to scripting. Now on to the final topics. Lists.
Lists in html come in two flavours - ordered and unordered. Ordered lists have a number along the side, unordered have a symbol usually a dot. ordered lists are contained in the <ol> tag, unordered lists are contained in the <ul> tag. Here's how they work. The tag specifies the type of list and then each list item is preceded by the <li /> tag. Let's list the days of the week:
- Sunday
- Monday
- Tuesday
- Wednesday
- Thursday
- Friday
- Saturday
- <ol>
- <li />Sunday
- <li />Monday
- <li />Tuesday
- <li />Wednesday
- <li />Thursday
- <li />Friday
- <li />Saturday
- </ol>
And the colors of the rainbow:
- Red
- Orange
- Yellow
- Green
- Blue
- Indigo
- Violet
- <ul>
- <li />Red
- <li />Orange
- <li />Yellow
- <li />Green
- <li />Blue
- <li />Indigo
- <li />Violet
- </ul>
Notice the only difference is one has numbers the other has dots. Well that's it for Lists. Pretty easy ya? We'll just finish you with a few tags that can come in handy and you're finished. Hope you've enjoyed the tutorial or at least found it useful.
The following tags are for formatting text and are pretty useful from time to time. Just place the text inside these tags and they are formatted accordingly.
- <sup> - The supertext tag, makes text supered, e.g. the nd in 2nd is supered
- <b> - The bold tag, makes text bold, e.g. this is bold text
- <i> - The italicise tag, makes text italicised, e.g. this is italics
- <u> - The underline tag, makes text underlined, e.g. this is underlined
- <sub> - The subtext tag, makes text subbed, e.g. the a in logab is subbed
These tags can be stacked so bold italics would be <b><i>text</i></b> would appear as text. You can stack as many as you want. just watch where you close the tag and which ones you close. Anyways experiment. You'll learn most that way. Hope you enjoyed the tutorial and best of luck with your sites.
Regards,
James Murphy