HTML Tutorial 3
Whew! We've just flown through stuff so far. If you're still with me after all we've done I think you'll make the grade. Honestly it gets easier as we go along. The important thing is not to take what I've taught you as the only way to do things. Experiment with what you've learnt. Look at different way of doing it because once you know the basics it's just a matter of rearranging. Now we have colors and fonts on the site but it's going to be pretty boring without pictures. And it won't go anywhere without links. It's called a web because all the strands connect together. Today we're going to learn how to do all that.
We'll begin with the pix. There are many ways of doing this. We'll look first at the <img> tag and then at the concept of background images. Before we start dropping pictures in willy-nilly it's important to look at a few things. Firstly, big pictures take a long time to download. The bigger the file size and the greater the number of pictures the longer it will take for your page to load. The longer it takes the more bored your end-user will become and so the less likely he is to stay, or tell others to go to your site or to come back. For this reason use .gif and .jpg files where possible instead of .bmp. Keep picture sizes small and don't crowd your page. This is of course a design issue and so in your hands not mine but a page with too much in it can be very distracting and won't generally be very helpful. Anyways on with the tutorial.
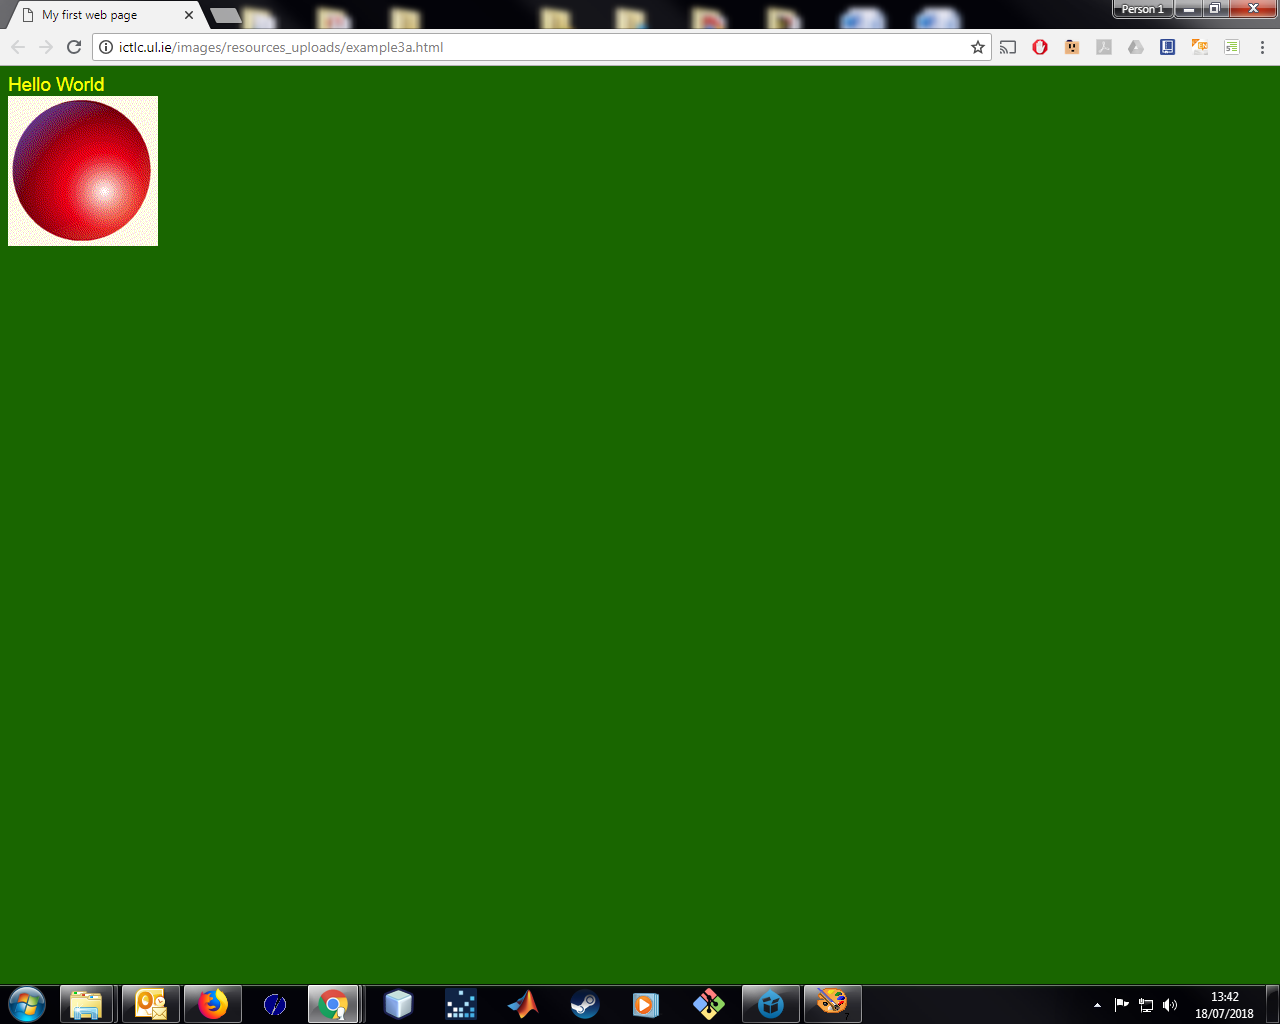
To put a picture on your page you just need to know where it is and tell the page. We do this with the <img> tag. We'll add the picture ball.gif to our page by adding the following
<img src='art/ball.gif'>
The src attribute shows the page where the file is. Here we have used a relative address, i.e. based on the current directory/folder. We could also have used an absolute address e.g. "file:\\C:\public_html\art\ball.gif" or if the file was on another web page a web address, e.g. "http:\\www.ballpix.com\balls\ball1.jpg". To make my folders neater and so I can see what I need and what I don't I generally keep all my pictures in a folder called 'art' which is a subfolder of the folder holding the HTML and CSS and JS files. But all that's for worrying about later on. For now have a look at your page. It should look like this:
- <html>
- <head>
- <link rel="stylesheet" href="/style.css">
- <title>My first web page</title>
- </head>
- <body>
- Hello World<br>
- <img src="/art/ball.gif">
- </body>
- </html>
Notice there is no closing tag with the <img> tag. This is one of a few exceptions. the others are the <br /> tag (which acts as a line break bring the text down a line) and the <hr /> tag (which creates a line or horizontal rule).
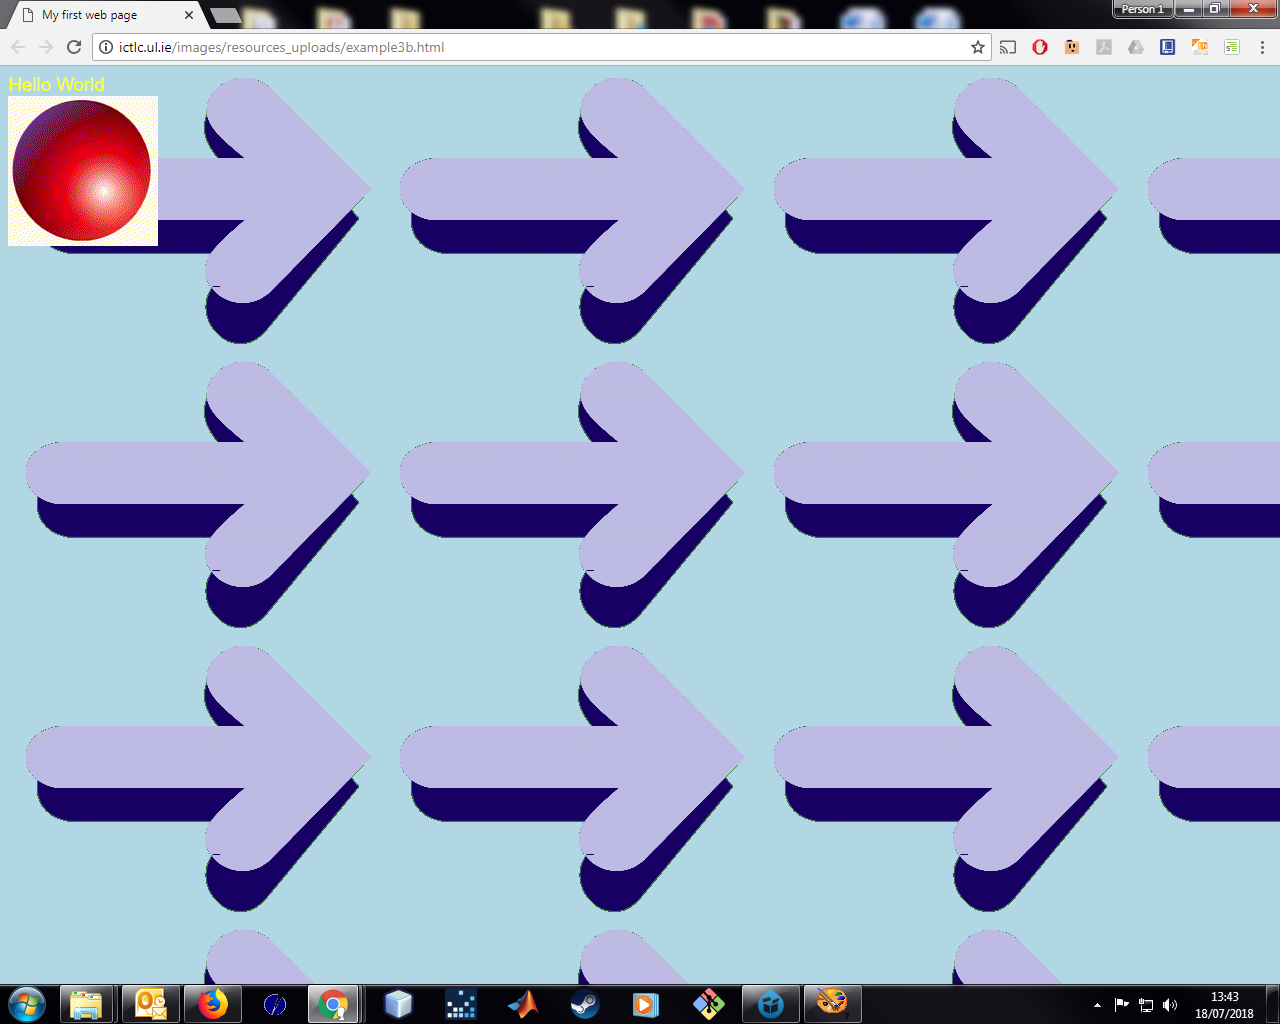
Now that's fine and we can put them all over the page if we want but sometimes what you really want is a background image i.e. one you can put text over. To add a background image to a page we add the 'background-image' reference to the style sheet specification for the <body> tag. Add the following text to your style sheet:
background-image: url('art/bgPic.gif");
Your style sheet should look like this:
- body
- {
- background-color: lightblue;
- background-image: url('art/bgPic.gif');
- color: yellow;
- font-family: arial;
- font-size: 14pt;
- }
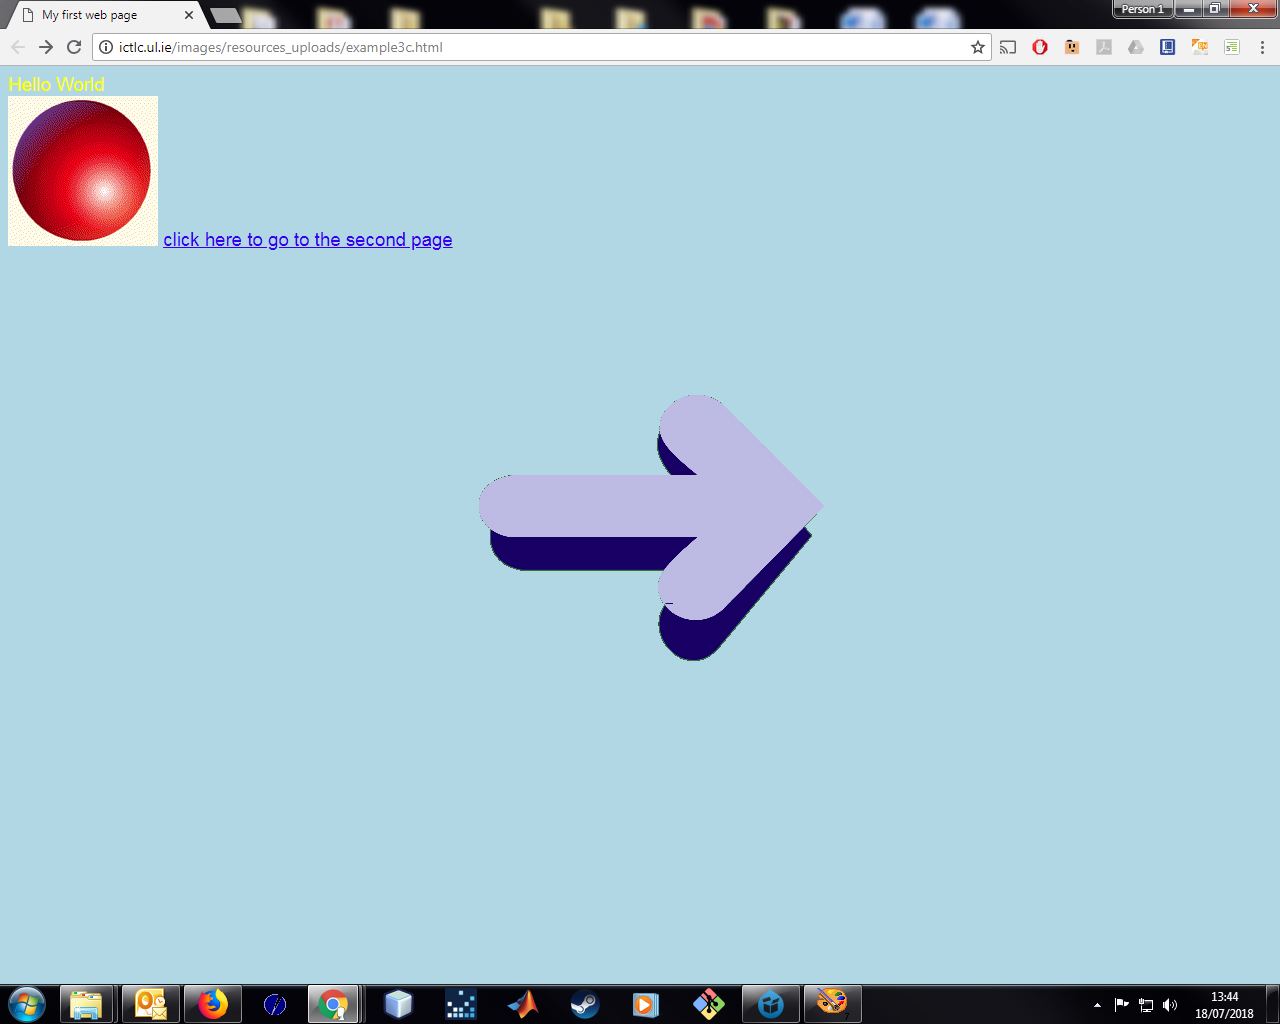
To stop the image repeating either make it as large as the page or alternatively add the following to the style sheet:
background-repeat: no-repeat; background-position: center;
Your style sheet should look like this:
- body
- {
- background-color: lightblue;
- background-image: url('art/bgPic.gif');
- background-repeat: no-repeat;
- background-position: center;
- color: yellow;
- font-family: arial;
- font-size: 14pt;
- }
Well we're motoring now. Quickly on to Links and I can let ye go. Links are what make web pages so great. A click of a button can lead you from fact to fact till god only knows where you are or how you got there. It's great. Links are implemented using the <A> tag, the anchor tag. It can be used to link parts of a page together (e.g. an index on a really long page and the actual piece of info you need) or different pages. Always be aware of copyright. If you place someone else page within your site you must do it in such a way that it is obviously the property of the other person and not as if it were your own. We'll deal with ethics and copyright later.
Ok lets go. We'll assume we have a second page called second.html. To link to it we add an <A> with the href attribute set to 'second.html' as follows:
<A href="/second.html">click here to go to the second page</A>
As you can see it has a closing tag. Any text inside the tag is now part of the link. Clicking on the text (when viewing in the web browser) takes you to the location given by the href attribute. Your page should look like this:
- <html>
- <head>
- <link rel="stylesheet" href="/style.css">
- <title>My first web page</title>
- </head>
- <body>
- Hello World<br>
- <img src="/art/ball.gif">
- <A href="/second.html">click here to go to the second page</A>
- </body>
- </html>
A few small things about links. The default colors for links in MSIE are blue for unvisited, #800080 for visited and underline when the mouse is over the link. It's usually best not to change these colors as people are used to them and changing them can make your links less obvious. However that's not much use if your background has to be blue or all the text on the screen is blue. There are two ways of changing the colors of the links, as attributes of the <body> tag or through the stylesheets.
To do it through the tag we need to set the attributes 'link=', 'alink=', and 'vlink=' to a color. 'link=' sets the color of an unvisited link, 'alink=' sets the color of a clicked link and 'vlink=' sets the color of a visited link. Pretty easy. Your <body> tag should now look like this:
- <body link="green" alink="lightgreen" vlink="darkgreen">
Or whatever colors you choose. Another way of doing it is to adapt the specification of the <A> tag. We do this as follows:
- A:link {
- color: green;
- }
- A:visited {
- color: darkgreen;
- }
- A:active {
- color: lightgreen;
- }
- A:hover {
- text-decoration: underline;
- }
A:hover sets the behavior of the tag when the mouse is over it.
And that's all there is to it really. A smart chicken might notice that anything inside the <A> tag becomes part of the link so pictures can be made into links using this method. Anyways I'm tired now and off to bed. Hope you enjoyed the tutorial. Next time we look at Lists, Divisions and Tables